- Download kemudian extrack software SCRCPY,
https://github.com/Genymobile/scrcpy
https://sourceforge.net/projects/scrcpy.mirror/
2. setting HP android untuk mengaktifkan fungsi “Developer Mode” atau “Mode Pengembang”

3. Masuk “Developer Mode” lalau Aktifkan menu “USB Debugging Mode” / Proses debug USB


4. Sambungkan komputer dengan SmartPhone menggunakan kabel Data (bisa USB, bisa type C, atau lainnya)
muncul deteksi RSA Komputer,
centang ✅”ijinkan selalu”
klik “Izinkan”

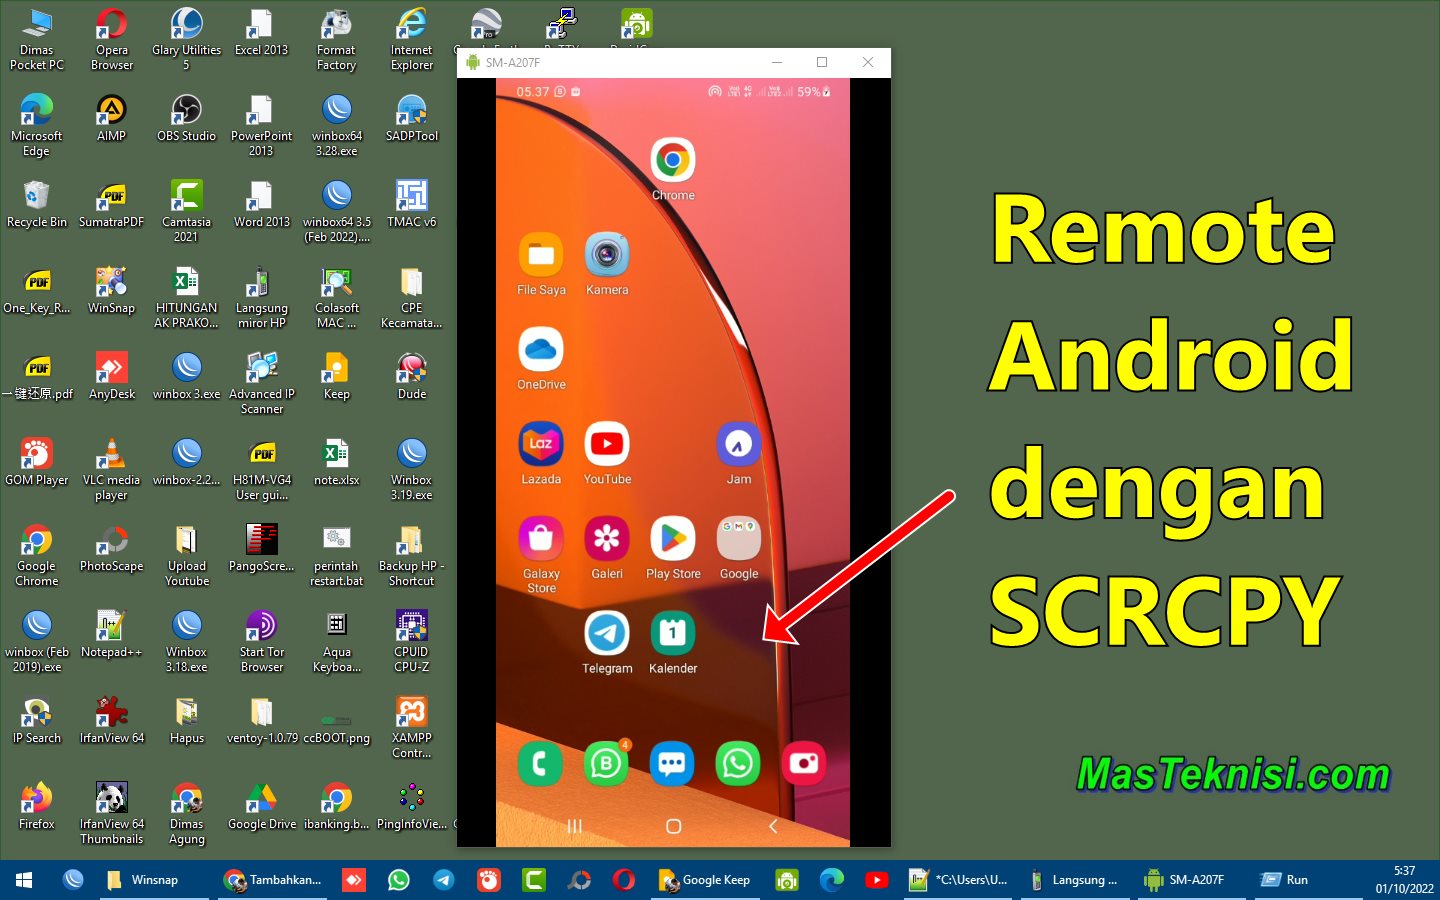
5. Jalankan aplikasi SCRCPY.exe

SCRCPY over TCP/IP (wireless)
sumber = https://github.com/Genymobile/scrcpy/blob/master/doc/connection.md#tcpip-wireless
Scrcpy uses adb to communicate with the device, and adb can connect to a device over TCP/IP. The device must be connected on the same network as the computer.
Automatic
Buka layanan TCP IP di HP android dengan cara :
- sambungkan HP ke komputer dengan kabel data
- jalankan perintah "scrcpy.exe --tcpip"
- selesai
An option --tcpip allows to configure the connection automatically. There are two variants.
If adb TCP/IP mode is disabled on the device (or if you don’t know the IP address), connect the device over USB, then run:
scrcpy --tcpip # without arguments
It will automatically find the device IP address and adb port, enable TCP/IP mode if necessary, then connect to the device before starting.

If the device (accessible at 192.168.1.1 in this example) already listens on a port (typically 5555) for incoming adb connections, then run:
scrcpy --tcpip=192.168.1.1 # default port is 5555
scrcpy --tcpip=192.168.1.1:5555Jika menggunakan koneksi kabel maka baiknya jalankan dulu versi USB/kabel data’nya baru kemudian panggil dengan menggunakan IP Address
atau sambungkan HP ke OS Windows menggunakan kabel data,
lalu panggil HP tersebut dari Windows dengan perintah “scrcpy –tcpip” dengan tujuan untuk mengaktifkan port 5555 di HP tersebut

scrcpy --tcpip
+ It will automatically find the device IP address, enable TCP/IP mode, find debugging port, then connect to the device before starting

Cara alternatif membuka/mengaktifkan layanan TCP/IP di Android
sumber = google AI